Straight Razor Shave At Home
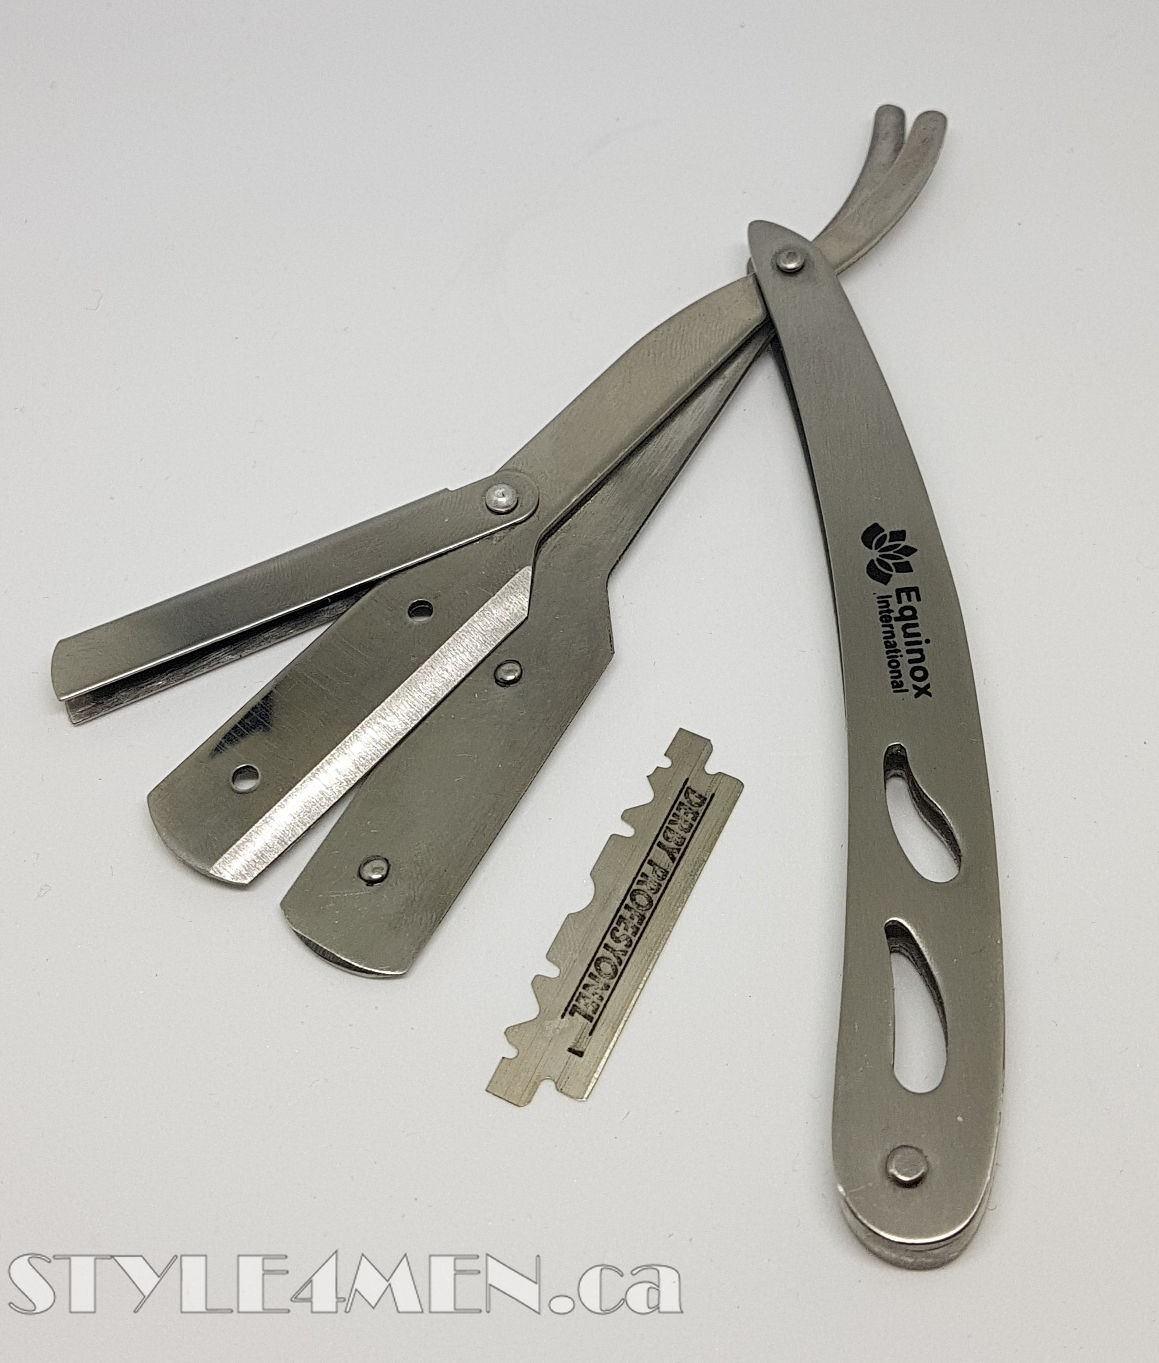
This morning I had time and felt brave so I finally pulled out my straight razor and loaded it with a Derby blade. I bought this razor many months ago and pretty much forgot about it. Whenever I remembered I didn’t feel like I was ready. This morning everything lined up for it. All things considered, this post as been a long time coming as many of you have expressed interest in this type of razor and this shaving technique.
This razor and the blade package are sold as a kit on Amazon and cost me $17.99. See the Amazon link at the bottom of the page to shop for this kit. The reason I picked this kit over other options is that I wanted to get an economical cut throat razor to first see if I could pull this off . If things worked out I could eventually move onto a fancier and more expensive razor. Another motivation for this kit, was that I had previously had good shave results using Derby blades. Lastly, this type of straight razor made sense to me from an hygienic perspective as the blades are disposable. No disinfecting or complicated cleaning required.
The razor has a simple and straight forward construction. Nothing complicated, but it doesn’t feel cheap. I can totally imagine this razor lasting countless years. I have no means to confirm the actual metal composition, but it looks and feels like stainless steel.
When shopping for a razor or blades for such a razor, be aware that it goes by a few different names: Straight Edge, Shavette and Cut Throat.
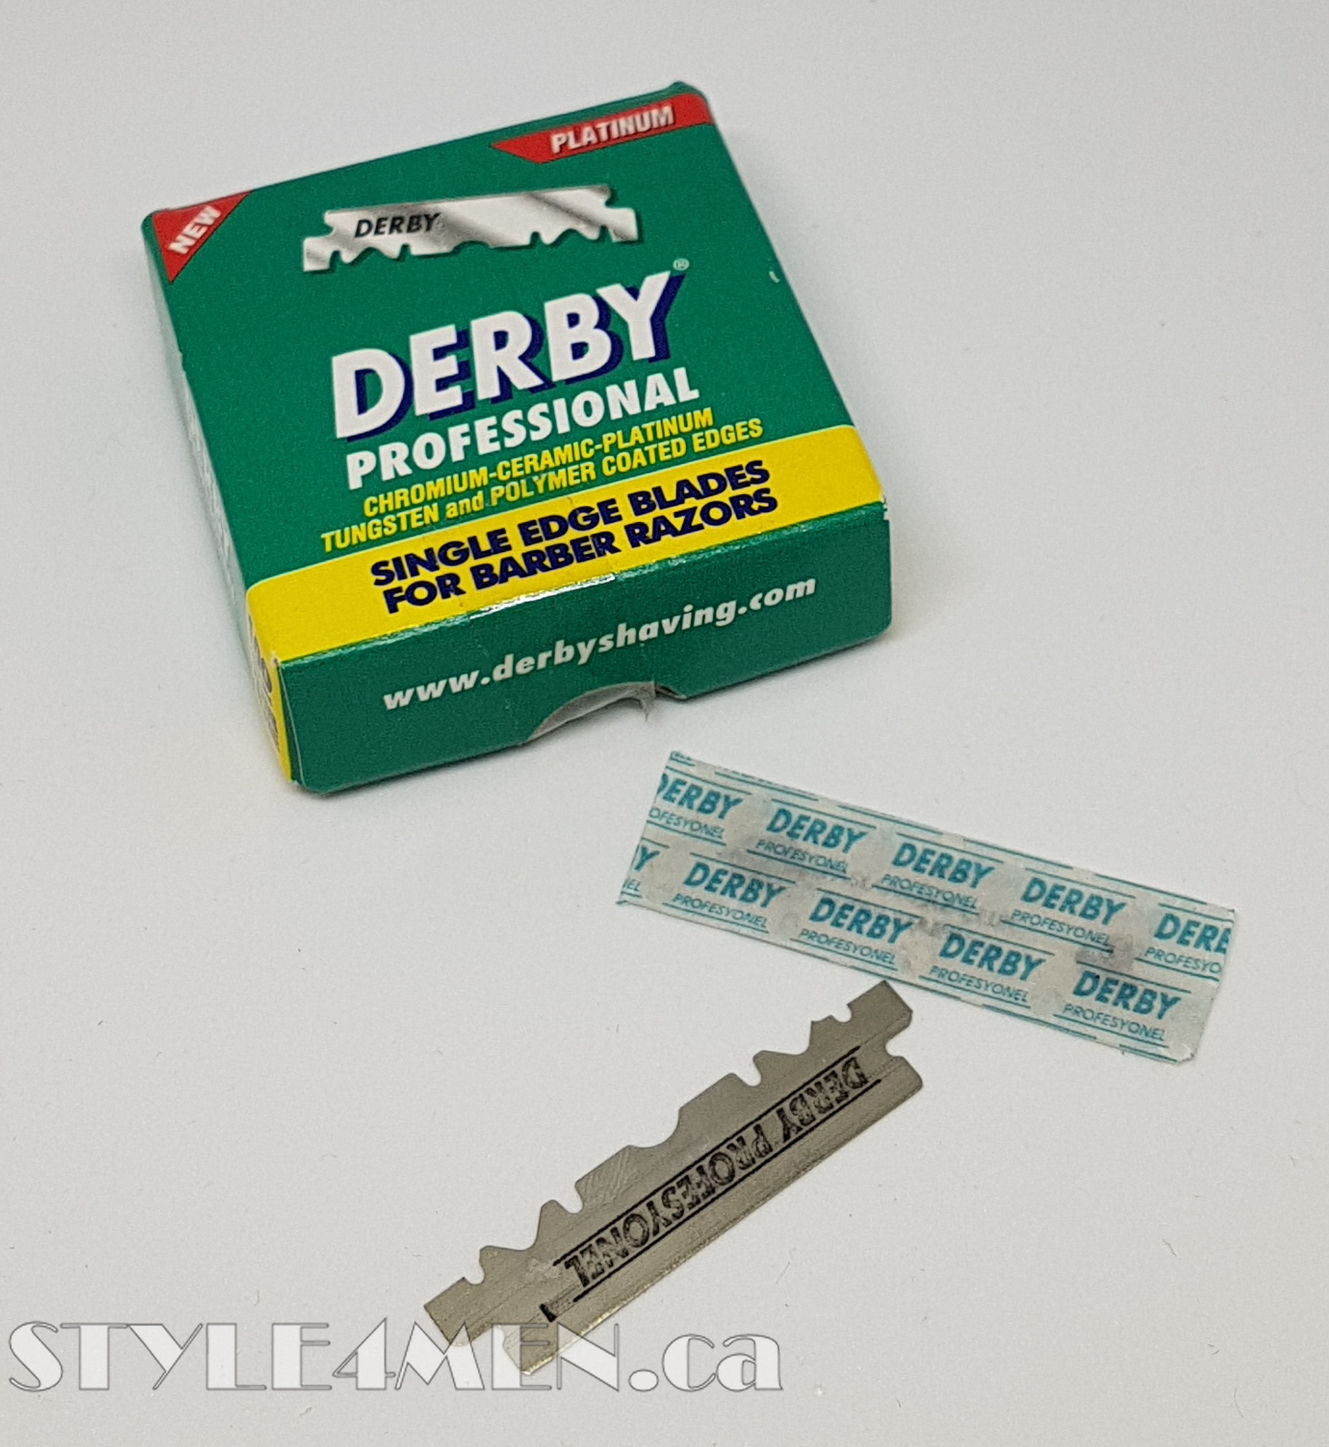
If I have my facts right, the single blades (half of a double-edge blades) are known as shavettes. You can buy single blades as shown below or you can take the daring route and break double-edge blades in half yourself. That seemed like an unnecessary risk for my money makers. The below box came with 100 single blades. As with the double-edge blades, these puppies are individually wrapped in wax paper.
TEST STAGE:
- State: Out of the shower
- Razor: Straight Razor
- Blade: Derby single
- Pre-Shave: None
- Shaving Cream: Marrakesh
- After-Shave: Clinique Aftershave
Coming out of the shower I lathered up with the very nice Marrakesh shaving cream. I picked this shaving cream since it has incredible lubrication and is a very comfortable cream to work with. Being right-handed I started with my right cheek. The cheek being the easiest area, it just made sense to start there. To my surprise, I got the angle right and it went rather well. I tried my left cheek, but couldn’t quite get the right angle to shave. Being clumsy with my left hand it didn’t make much sense to try this further. Continuing with my right hand, I tried under my nose and in the neck area as well. Pretty good! In between passes I rinsed the razor out and was impressed to see how much beard hair this blade was taking off. I hadn’t shaved in 2 days. Considering that this was a first experience, it was pretty good, I finished my shave with my regular safety razor which I had previously prepared as a backup for finishing the job, since I was fairly sure I wouldn’t get everything shaved.
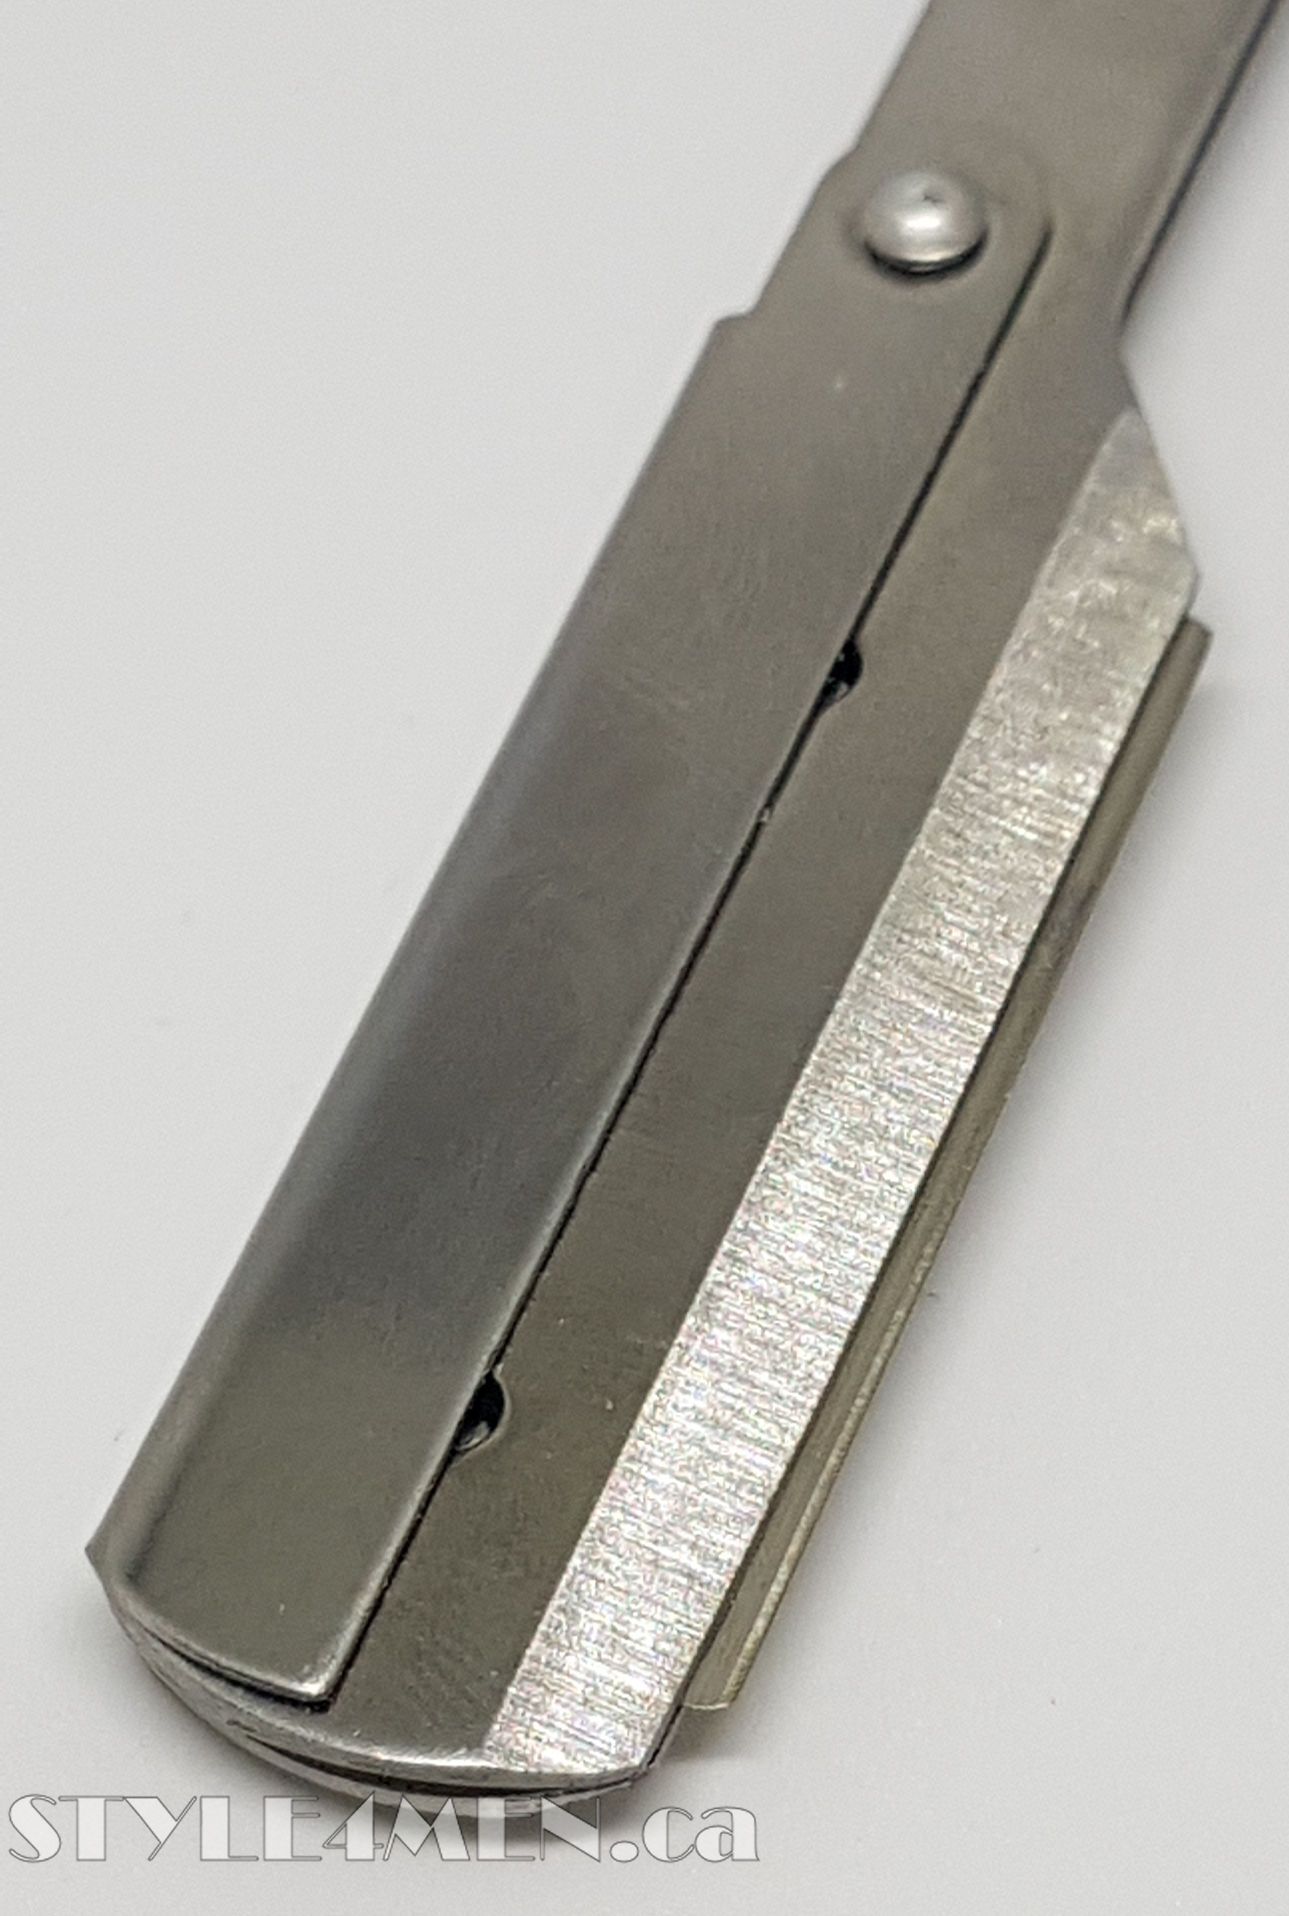
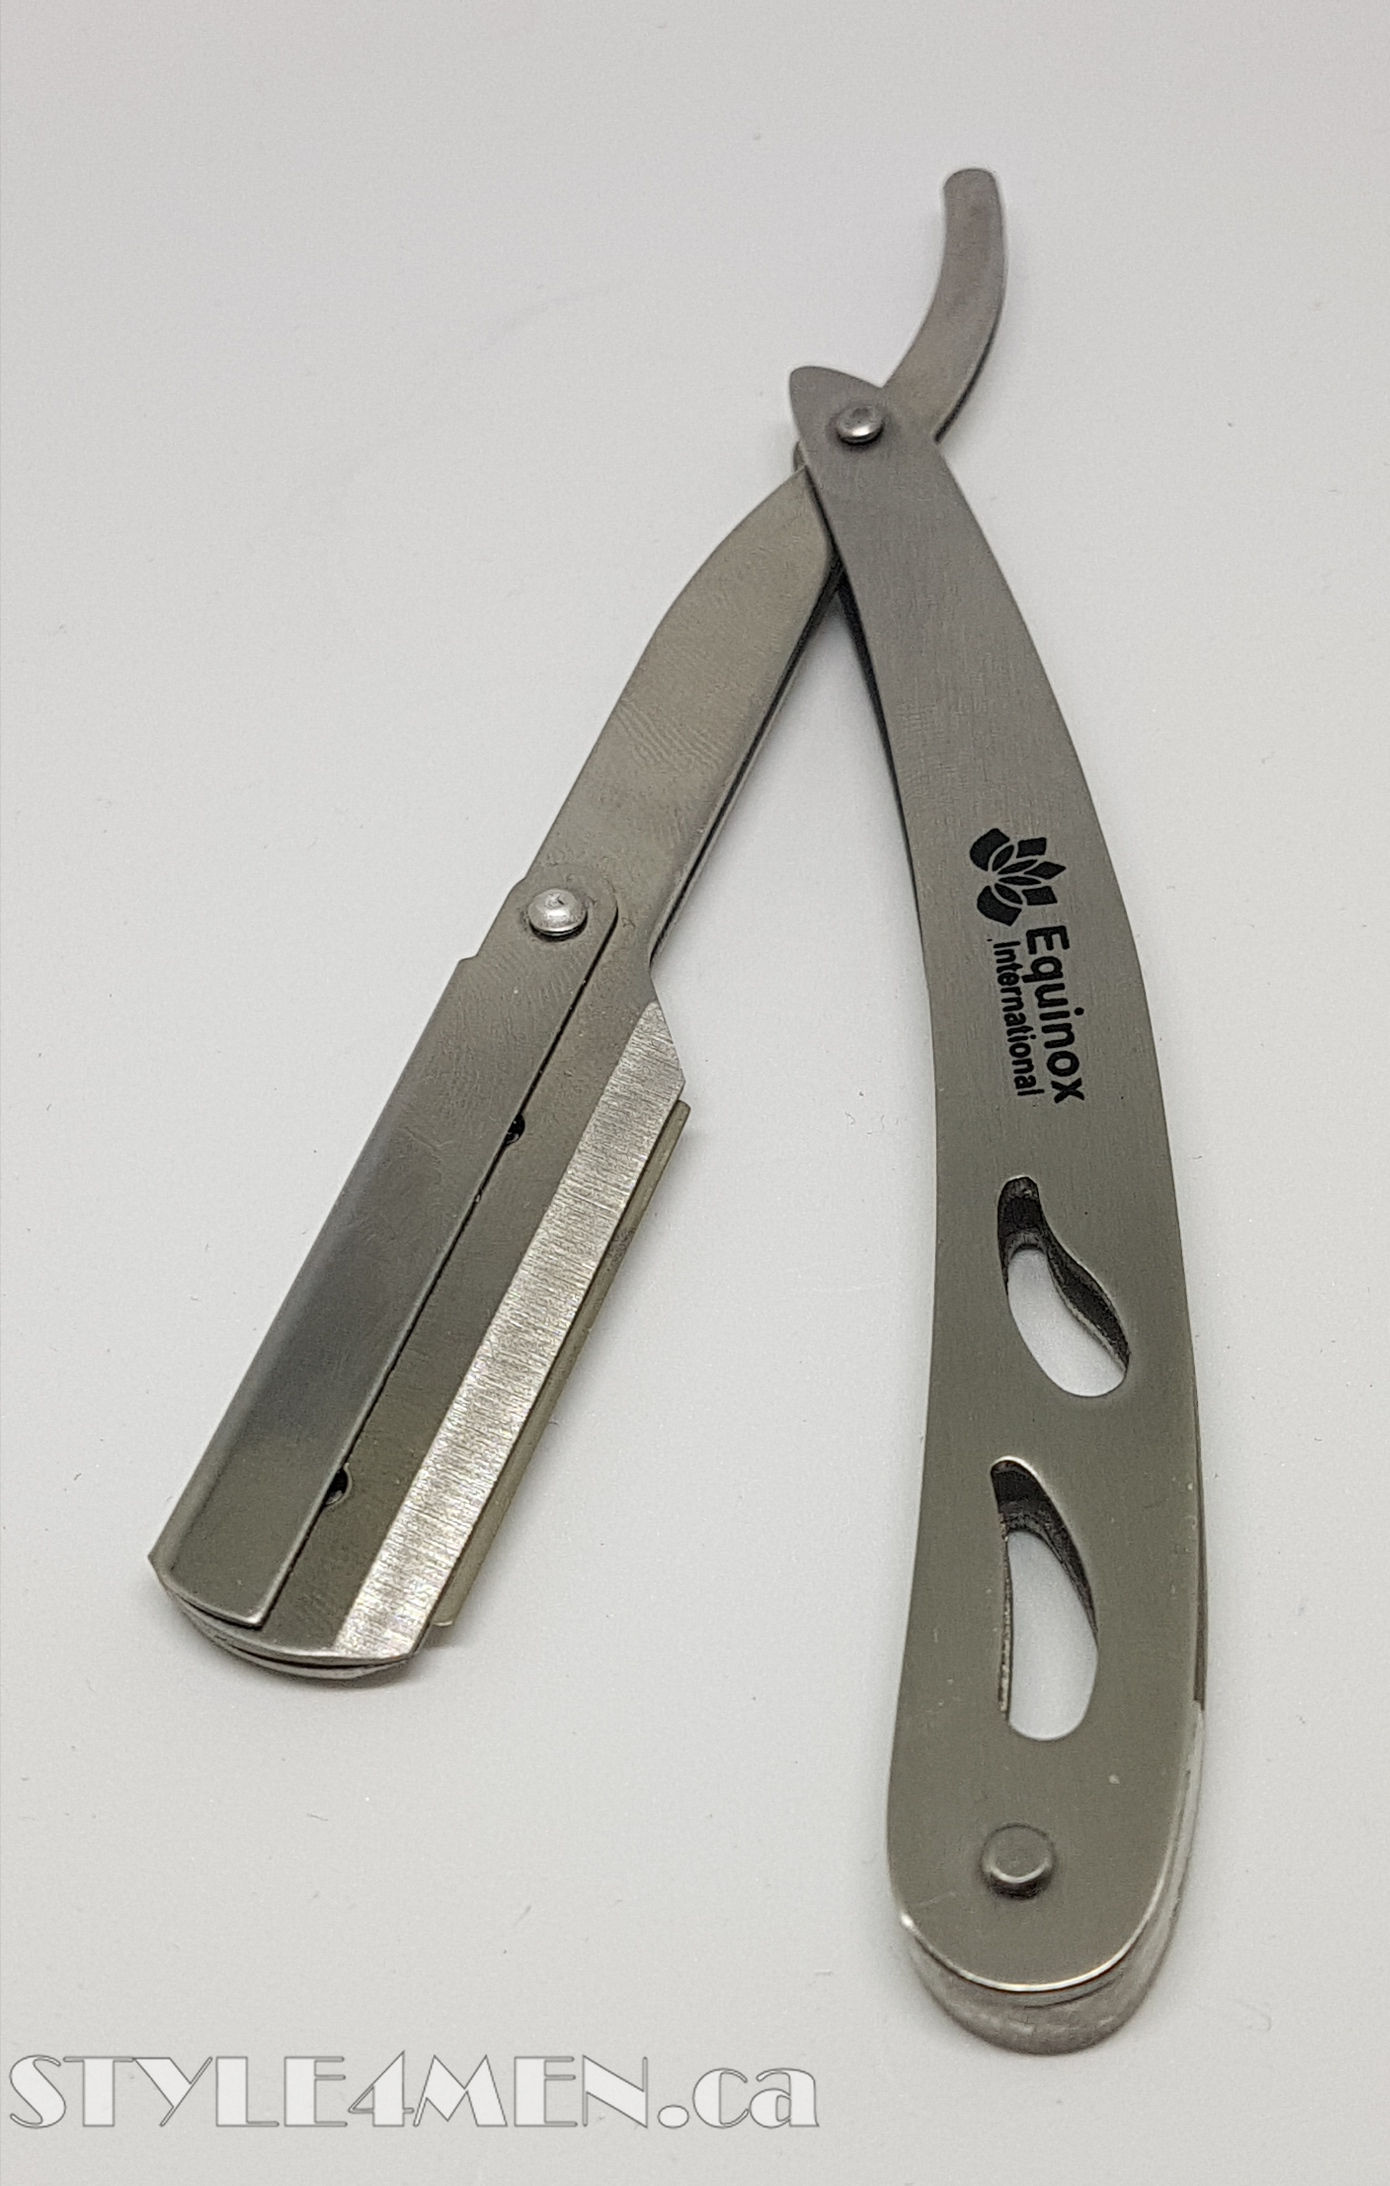
By the time I was done shaving I started to notice that I had in fact not done that great of a job as I had nicks aplenty. The blade being so sharp, you don’t quite realize the little stubbles along the way. The blade is also made somewhat stronger by being trapped in between two thick stainless steel plate which are then held in place together with a U shape cap. Very secure! That blade is going no where. This certainly does help in the maneuverability of the razor as the blade and shaft containing the blade are perfectly rigid and move as one. The amount of blade being exposed is very small. Approximately the same as what would be presented within a safety razor. I will need to show some comparative picture.
The main difficulty I found was the change of working angle. Instead of having the blade at the end of a T-shape razor where the blade angle is already calculated, you are now working with a knife and your hand needs to find a new position. If anything, this is the main difficulty of this shaving technique, having to calculate 2 working angles. First for how to align the blade against your face and secondly how to angle your hand to accomplish that. The safety razor by comparison is extremely simple and has a well deserved name.
Taking the blade out after the shave was a bit harder as there was shaving cream and my fingers were wet. To avoid any unpleasanteries, I held the razor within a towel to disassemble it. When loading the razor, things are easier as everything is dry.
Did I have a good shave? Aside from the nicks, it was pretty decent. This technique certainly gives a close shave. Obviously, I really have no skills as of yet and that can only get better over time. Even though you might have been shaving for years or decades with a Gillette’s razor, this is an entirely different game. You are essentially putting a scalpel to your face. This is a time for humility. It certainly is a Bad-Ass thing to do, but maybe you wanna ask yourself why you are doing this. In my case, aside from flat out stupidity, it’s a quest of rediscovering how things use to be.
My suggestions:
- take your time, do no rush this by any strength of the imagination,
- do short strokes,
- consider your angles,
- have a backup shave plan to finish the job,
- don’t push yourself unnecessarily as there is “NOTHING” to gain, you will eventually get there,
- and finally, use shaving products that have superior lubrication and good insulation:
You will quickly realize that this kind of blade is not something to be messing with. RESPECT!
Although this was the first time I attempted a straight-razor shave on myself, this was not the first time I was shaved in this fashion. To date I have had 4 such shaves and not all were perfect. In that frame of mind, read some of my straight-razor shave experiences and consider getting shaved by a pro before thinking about doing this on yourself. As cool as it might be to shave like it’s 1917, it’s not for everyone.
